posted by Ahijoy on August 11, 2022
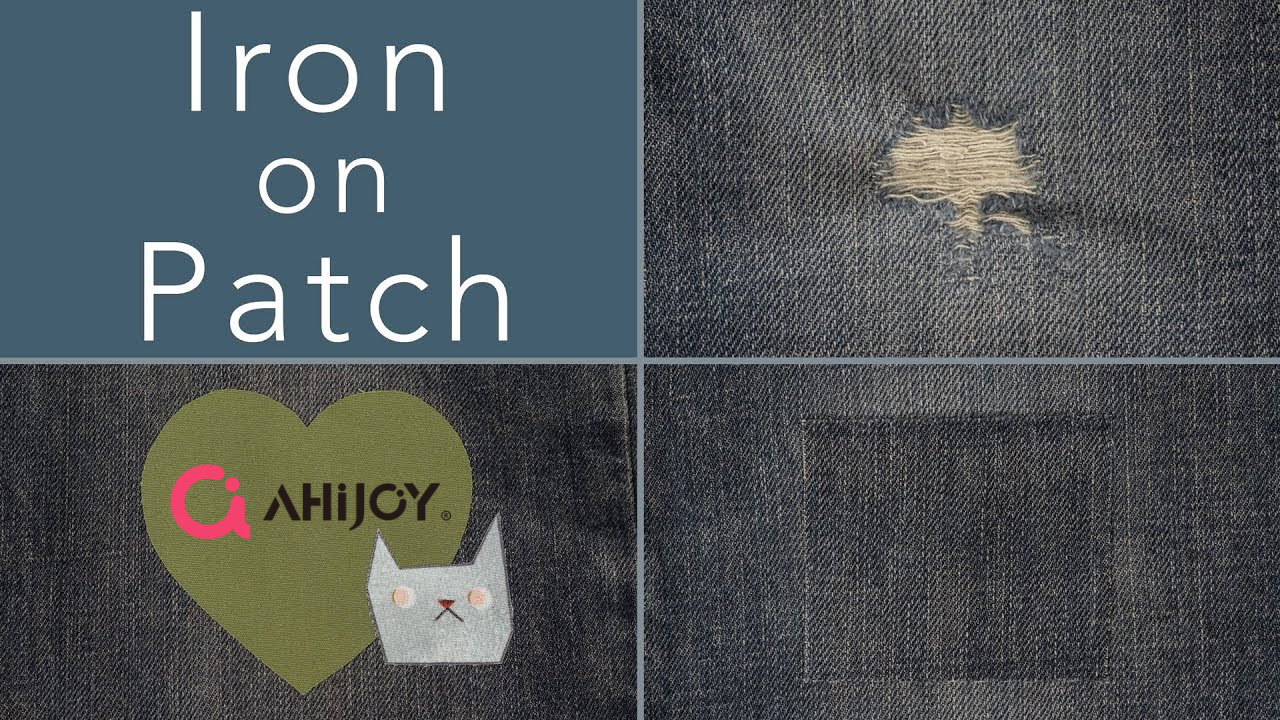
How to Make Iron On Patches
Are you interested in making your iron on patches? How should patches be ironed? A scrap piece of fabric can be used to make it. And you can make an iron-on patch using flock heat transfer vinyl.
Were you having trouble creating these crafts? There's no need to worry! This crafting guide aims to teach you how to make your iron-on patches.
The first step will be making fabric iron-on patches, and the second step will be permanently attaching them to your shirt. A vinyl iron-on patch technique that few crafters know will also be taught to you.
This DIY iron-on embroidery patch can be made with the following items:
- Pink and red felt
- Black Colored Felt
- White Embroidery Floss
- Wonder Under Fusible Web

Iron-on patches: Step-by-Step
Applying iron-on patches
Having created our custom iron-on patches, we are ready to apply them to our garments.
Those iron-on patches look great on makeup bags and can be used on any article of clothing.
Custom iron-on patches can be applied using the following tools:
- The custom patch & clothing
- A light towel
- An iron & hard surface
The first step is to lay out the clothing and place the patch in your desired position.
Apply the patch gently to the iron with the medium temperature setting without steam, and the glue will then be activated.
Towel the patched area by carefully turning the bag or clothing inside. After placing the iron in place, let it sit for 20-30 seconds. Do not touch or move until the surface has cooled.
DIY Iron-on Patches Methods
It was initially used to repair holes in denim jeans or jackets with clothing patches. It is also common to use patches for aesthetic reasons these days. There has been a lot of popularity in denim or varsity jackets with patches over the years due to their overly designed appearances.
These days, ready-to-press embroidered patches are offered by many craft stores or online for a reasonable price. After that, you can add as many patches to any piece of clothing as you like. Choosing a design you love is the real challenge!
What about creating one of your own? There are a variety of techniques you can try if you want to make your iron-on patch. The following three methods can be used:
- DIY iron-on patch made of scrap fabrics
- DIY iron-on patch made of flock heat transfer vinyl
- Combination of these two techniques
Here are the steps to create these fantastic art pieces and the necessary supplies.
1. DIY Iron-on Patch Made of Scrap Fabrics
Those iron-on patches work well when you need a thick patch to patch holes in your clothing. When creating an iron-on patch with more than one color, then flock heat transfer vinyl is a better option than standard heat transfer vinyl. A multi-colored iron-on patch can be made with the second technique.
Step-by-step instructions without a cutting machine:
- Using Microsoft Word and bond paper, print out your desired design if you don't have a cutting machine.
- There should be no blank spaces in the design.
- Take a fabric scrap that you have and cut out the lettering, then pin it to the trash, and you are done with the lettering. The blank spaces can be removed with an Exacto knife.
- The design should be cut out thoroughly and then glued at the back with fabric glue. The design should then be glued to the felt fabric, and make sure it dries.
- The blank spaces in the felt should be cut closer to the design to eliminate the empty spaces.
- Take a HeatnBond and cut it out a little larger than your fabric patch design.
- Affix the patch's adhesive side to the HeatnBond.
- Place them so that their dull sides are facing up. Having adhered the HeatnBond adhesive to the back of the patch, it is now time to attach the patch to the wall.
- Place the second piece of fabric on top of the HeatnBond adhesive and iron it (some people also use a hair straightener for this) until the material is smooth and has disappeared from the heat. You must let the glue completely relax before it can attach to the patch.
- Place the second piece of fabric on top of the HeatnBond adhesive and iron it (some people also use a hair straightener for this) until the material is smooth and has disappeared from the heat. You must let the glue completely relax before it can attach to the patch.
- Make sure you don't turn on the steam setting on your household iron if you're using one.
- Exacto knives can be used to remove the blank spaces of HeatnBond adhesive and felt paper from the patch after it has cooled.
- HeatnBond adhesive is then peeled off its plastic backing.
- Once the patch has been ironed on the fabric, it should be ironed using the highest heat setting. The patch should be ironed for about eight to ten seconds from the fabric's inside (the reverse side).
- Keep the patch away from the heat source by using a thin pressing cloth. Ensure the patch, as well as the surrounding fabric, are covered to avoid burn marks. Use an ironing board and place the item on a flat surface so that you can iron it.
- Afterward, iron the patch on the front side for 8 to 10 seconds.
2. DIY Vinyl Iron-on Patch
A wide variety of heat transfer vinyl is available from Ahijoy, which is an excellent option if you need an iron-on patch with multiple colors. Using heat transfer vinyl is similar to layering several layers of HTV if you've ever worked with it before.
3. Making a vinyl iron-on patch
You first need to decide what design you want and what pattern of heat transfer vinyl will look most appealing. Choose from various designs and patterns instead of just plain heat transfer vinyl. Decide what size you want once you've chosen an HTV design.
You must choose the correct size for your iron-on patch, and the process may be complicated for intricate designs smaller than 3 inches.
There are other types of printing, such as printable vinyl, that you may want to consider. There is no need to make it patch-sized per se, and larger printing decal sizes can also be printed with this process.
Multilayered vinyl patches look great on bigger sizes. This crafting guide can help you determine what size vinyl decal you need: Vinyl Decal Size Chart: For Shirts, Bags, and More.
- If you want to determine which color goes with which, later on, you should have a reference design.
- You can ungroup designs in the Silhouette or Cricut Design space by right-clicking on them. You should select the weld that will cut the color that stands out the most (usually the bottom vinyl or the base layer).
- The colors should be cut once all have been cut, and the fabric should be prepared for layering the design
- The vinyl layers must be stacked like a puzzle to fit well together.
- To wick away moisture from the cloth, press the fabric for 5 to 10 seconds before washing.
- The base layer can be pressed with the EasyPress or heat press machine. An ordinary household iron can be used. A heat press machine is the best way to ensure accurate heat and time settings.
- The general rule is to follow the heat and time settings recommended by the vinyl you used.
- The next layer should be applied after the previous one has been completely cooled, and each layer should be alighted before pressing.
- The most effective way to press is to use a thin layer of Teflon or parchment paper.
4. Utilize both techniques
Using this method allows you to combine both methods at once! Consider patching a hole in a denim jacket with a multi-colored logo. Vinyl is best suited for flat surfaces and can't be applied directly to them.
So combining both techniques above is the best idea: print heat transfer vinyl on fabric scraps. Clever, isn’t it?
Combining both processes means pressing vinyl directly on scrap fabric instead of direct to the garment, and you can skip the fabric glue step since HTV can be applied directly to scrap material.

Here are the steps to follow:
- Under the vinyl decal (where the heat bond adhesive was printed), place a HeatnBond UltraHold Iron-On Adhesive.
- HeatnBond Adhesive can be applied by pressing the back portion.
- Put the patch on your garment and press it down.
You can use a multi-colored iron-on patch to cover up the holes in your pants. The technique is also excellent for those who simply want to achieve the embroidered patch look.
How Does it Stick?
We couldn't give you instructions on how to make your own iron on patches without giving you instructions on how to mount them! The only way to attach them would be to sew them on, which would require a lot of effort. You can find peel and stick fabric fuse at your local craft store.
It is essential to read the packaging carefully for each brand since they will differ slightly. You should place your embroidered design on the sticky side of the paper so that it faces you. Make sure your design is firmly pressed down with your fingers.
The sticky paper may need to be ironed onto the design for some brands.
Ensure that you start pressing in the middle, then work your way out to the edges to avoid any bubbles. Remove the sticky paper backing after the design has been secured. Once the invention has been confirmed, cut the design out carefully. Remove the protective paper from the image you cut out when you're happy with it.
Consider where you want to place your patch carefully before placing it. If you lay it down, you will have difficulty getting it back up. Similarly to how you applied for the transfer before, gently massage the patch into your clothing.
Once you've gotten the edges well pushed, you're done! The iron-on patch-making instructions are now at your fingertips. Opportunities abound depending on what artwork you have access to.
Related Posts
Can You Apply Premium Vinyl On Shirts?
How Long Does Self-Adhesive Vinyl Last?