posted by Ahijoy on December 19, 2022
How To Use Siser Heat Transfer Vinyl With Cricut?
Siser heat transfer vinyl is one of the most popular vinyl products in the market. Anyone can use Siser with their Cricut machine and make their own personalized crafts. With many different designs and colors to choose from, it's going to be hard to get bored with this material. It doesn't matter if you're a beginner or an expert at what you do – there is a Siser heat transfer vinyl to work with and complete amazing projects for everyone.

What Are The Different Varieties Of Siser Heat Transfer Vinyl?
If you’re new to HTV crafting, you might not be aware of the wide variety of colors and finishes available in Siser HTV each with its unique cut settings. It is one of the leading suppliers of HTV in the world and their product line includes:

- Standard HTV also known as Siser EasyWeed.
- Pearlescent or Electric HTV.
- Glitter HTV.
- StripFlock HTV.
- Glow In the Dark HTV.
How Do You Use Siser HTV With Cricut?
Siser heat transfer vinyl is the perfect choice for creating amazing crafts through your own cut files. If you are using a Cricut machine, you can create your own custom designs and then use them as a template for cutting out the vinyl. The beauty of a Cricut machine is that it performs all the tedious cutting for you. Here's how to use Siser heat transfer vinyl with your Cricut:

Step 1: Create A Design Template
Create a design template on the Design Space software that comes with Cricut machines. Though the template can be as simple or as complex as you want, it should be clearly represented on Design Space so that it's easy for the machine to interpret and cut it out. Specify the machine what size the file should be cut at (scale your design) and mirror your picture (flip it so that it cuts backward).
Step 2: Prepare The Cricut Machine
The second step is to clean your Cricut machine. Use a damp cloth to wipe it down, then dry it thoroughly with a lint-free cloth. If you have any residue on your Cricut, use acetone (available at craft stores) to remove it.
Step 3: Load Siser HTV On The Cricut
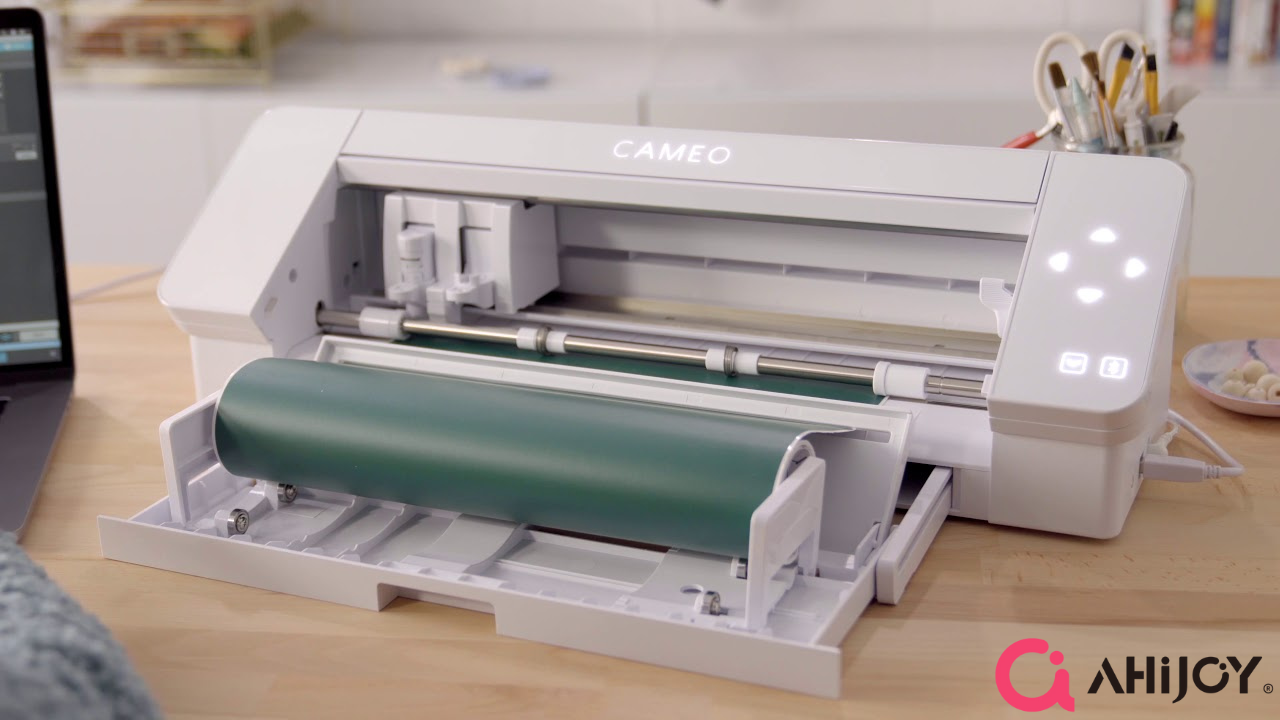
While placing your Siser HTV on a Cricut cutting mat, the glossy side should face down and the matte adhesive side should face up. Place it along the grid of the cutting mat. Align the cutting mat under the white guides ensuring that it is centered. The pinch roller will slightly pull the mat in to load it and help in moving it back and forth while the machine cuts the design. Adjust the settings on Cricut to iron on. Now load the mat into the machine.

Step 4: Cut And Weed The Siser HTV
It’s time to cut your HTV. Give the command and the machine will start doing its job. Once the design is cut, weed out extra vinyl to bring forth the final look. You can use Ahijoy’s weeding pen to do the job smoothly and remove any excess vinyl from in and around your design.
Step 5: Apply The Design To The Fabric
Apply heat to the fabric for around 2-3 seconds to remove any moisture. Preheat the heat press machine according to the recommended settings for the type of vinyl used. Each vinyl has a different heat setting mentioned on the pack. Follow the instructions. Use Teflon sheet or multipurpose paper to cover the decal. This is to protect the surface while applying heat. Apply the Siser heat transfer vinyl design to the desired spot on the fabric.

Cricut Settings For Siser HTV
Since there are different types of Siser HTV, the cut settings also differ for each of them. Do not worry. Below is the table stating the cut settings for Cricut Explore and Cricut Maker while using different Siser heat transfer vinyl films.
| Siser HTV | Cricut Explore | Cricut Maker |
|---|---|---|
| EasyWeed HTV | Iron on | 185 |
| Glitter HTV | Iron on + | 203 |
| Holographic HTV | Iron on + | 203 |
| Brick 600 HTV | Cardstock | 299 |
| Glow in the Dark HTV | Iron on + | 203 |
| Electric HTV | Iron on | 185 |
| Metal HTV | Iron on | 185 |
| Stretch HTV | Iron on + | 203 |
| Twinkle HTV | Light Cardstock + | 287 |
| StripFlock HTV | Flockpaper | 249 |
Siser HTV Test Cut With Cricut
In order to create a perfect craft it is highly imperative to test cut it first using a simple design like just a circle or a square. The reason for a test cut is to see whether the blade is doing its job properly or not. If the blade does not cut deep enough, you are not able to weed out the extra vinyl and the design comes off as well. If the cut is too deep, the carrier sheet is torn as well.
A test cut also saves the wastage of vinyl. You find your ideal settings with it and hence perfect cut lines. If you use your Cricut machine a lot, then the blade will need higher cut settings since it might not be very sharp. If the blade is new, you would want to be careful as it will be really sharp and might give a deep cut.

So what is just the right, good cut? A good cut is the one that slices through the vinyl but does not cut the carrier sheet in the process. After your test cut, if you feel the cut lines on the carrier side, the blade has gone too deep. You should see the cut marks but should not feel any actual cut lines. If you have achieved this, your cut is perfect. Take time out for a test cut with Siser HTV for a hassle free smooth ride later on.
Frequently Asked Questions
The Final Words
If you are looking for a way to make your projects look unique, Siser heat transfer vinyl is perfect for you. It has been designed by experts who understand how important it is to create products that are both beautiful and functional. The quality of this product makes it possible to create anything from scratch without having any issues with durability or stability. It is compatible with all craft cutters and can be easily used with Cricut.


