posted by Ahijoy on October 27, 2022
Different Ways To Make Designs For Tie And Dye Shirts With Vinyl
Tie and Dye is the one trend that is never out of style. The beautiful layering of multiple hues on a plain background has always been the hot favorite with people donning it lovingly at different occasions.

Two Ways To Tie And Dye
A lot of people also learned to DIY tie and dye at home. It is quite easy to do plus looks really cool. It can be done in two ways. The first one is the traditional method where you add colors to a plain white or light colored fabric, and in the second one you take a dark colored shirt and remove color from it using bleach.
1. The Flamboyant Tie And Dye
This is a simple method where you randomly start crumpling the shirt, bringing it all together to form a tight disk. Use rubber bands or a thread to keep it in place. Use the colors of your choice to make the dye, putting them in a spray bottle. Spray it on the exposed fabric. Now, untwist your shirt revealing the final tie and dye look.

2. Bleached Tie And Dye
This is also known as reverse tie and dye. It involves removing hues from a dark colored fabric using bleach. The method is the same however instead of dyes, you put bleach in the spray bottle. Once the bleach has saturated and cured, rinse it off and leave the fabric for drying.
Tie and Dye is highly economical. You don't even have to buy a new t-shirt. You can take out any of your older ones and do the tie and dye technique on them overhauling their complete look. Nobody will ever know it was the same ancient tee that you wore a thousand times.
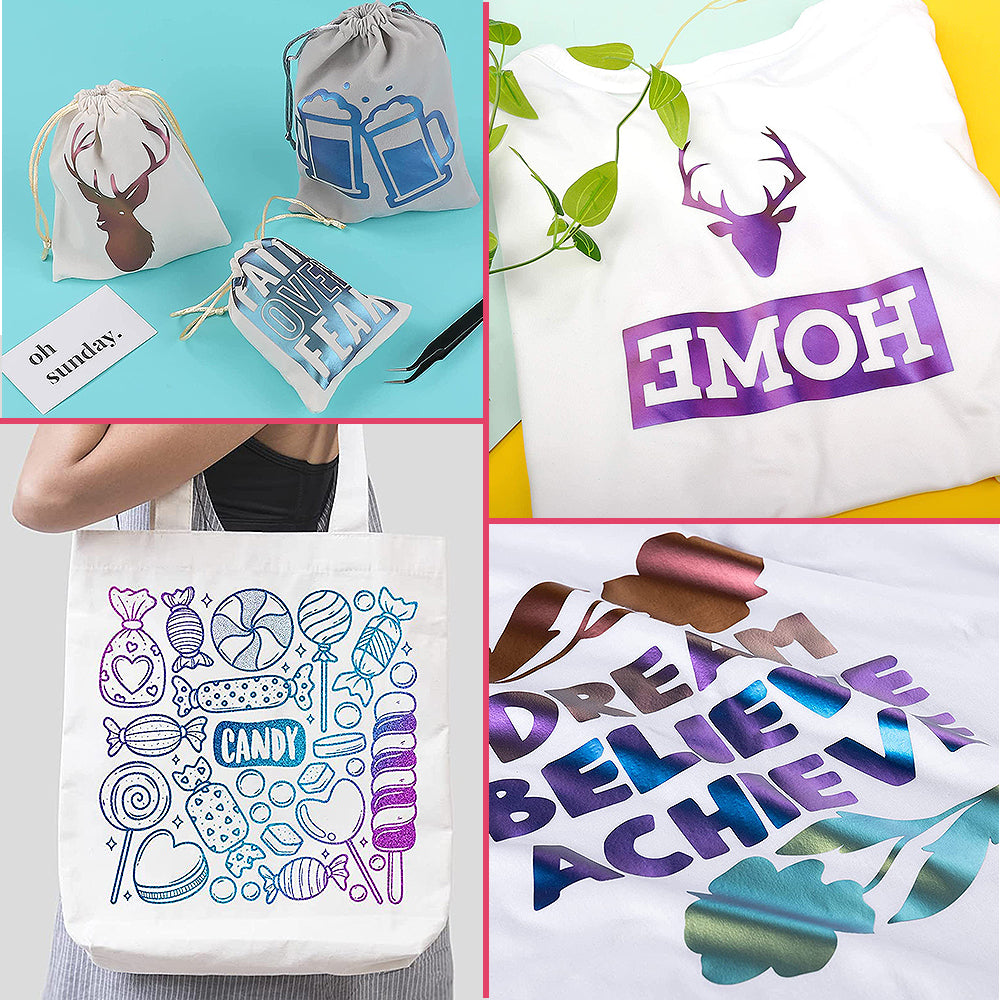
If you really want to go a notch higher and further amplify the look, you can do so by using the all-time favorite craft vinyl. Imagine a shirt with a colorful display of multiple hues in a spiral or sunburst pattern and a glittery vinyl design in the center adding glitz and glamor!

Heat Transfer Vinyl On Tie And Dye Shirt
At Ahijoy, there is no dearth of choices when it comes to heat transfer vinyl. Since tie and dye itself is a brilliant display of shades, you can go for a monotone vinyl and play with the texture.
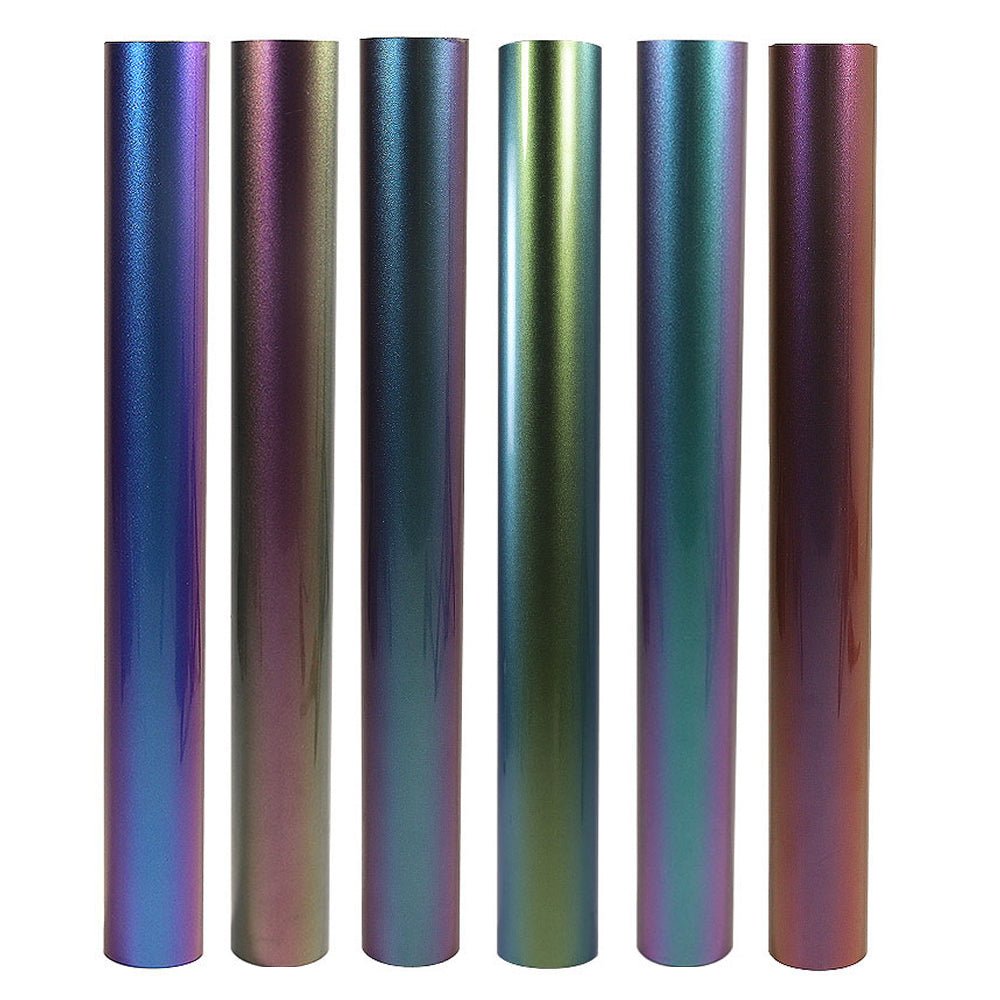
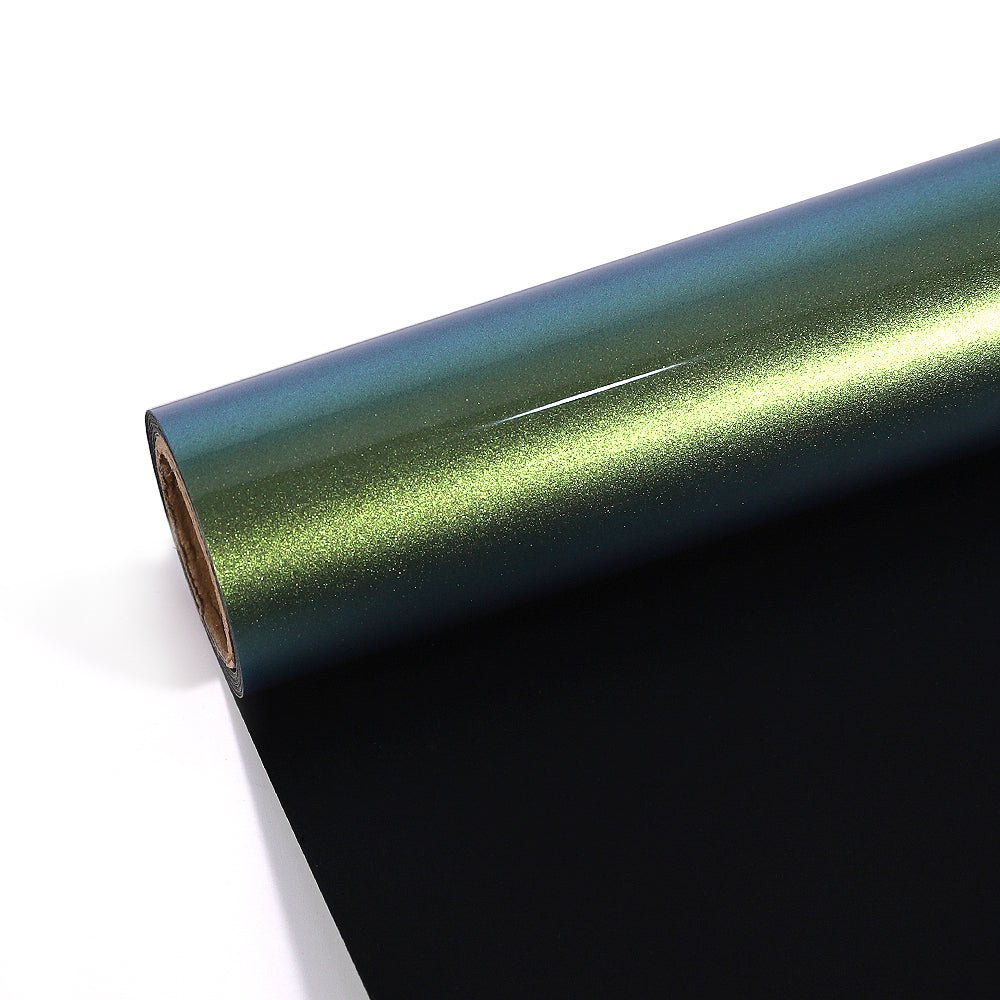
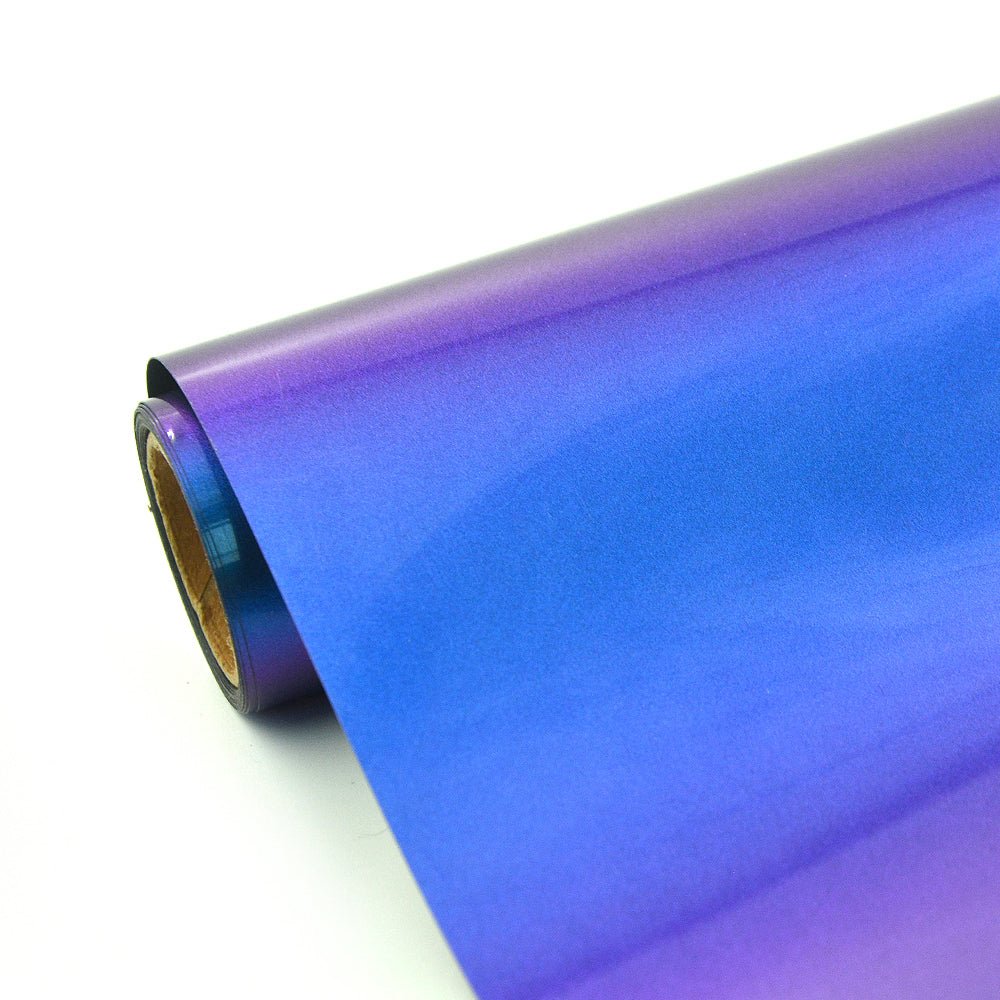
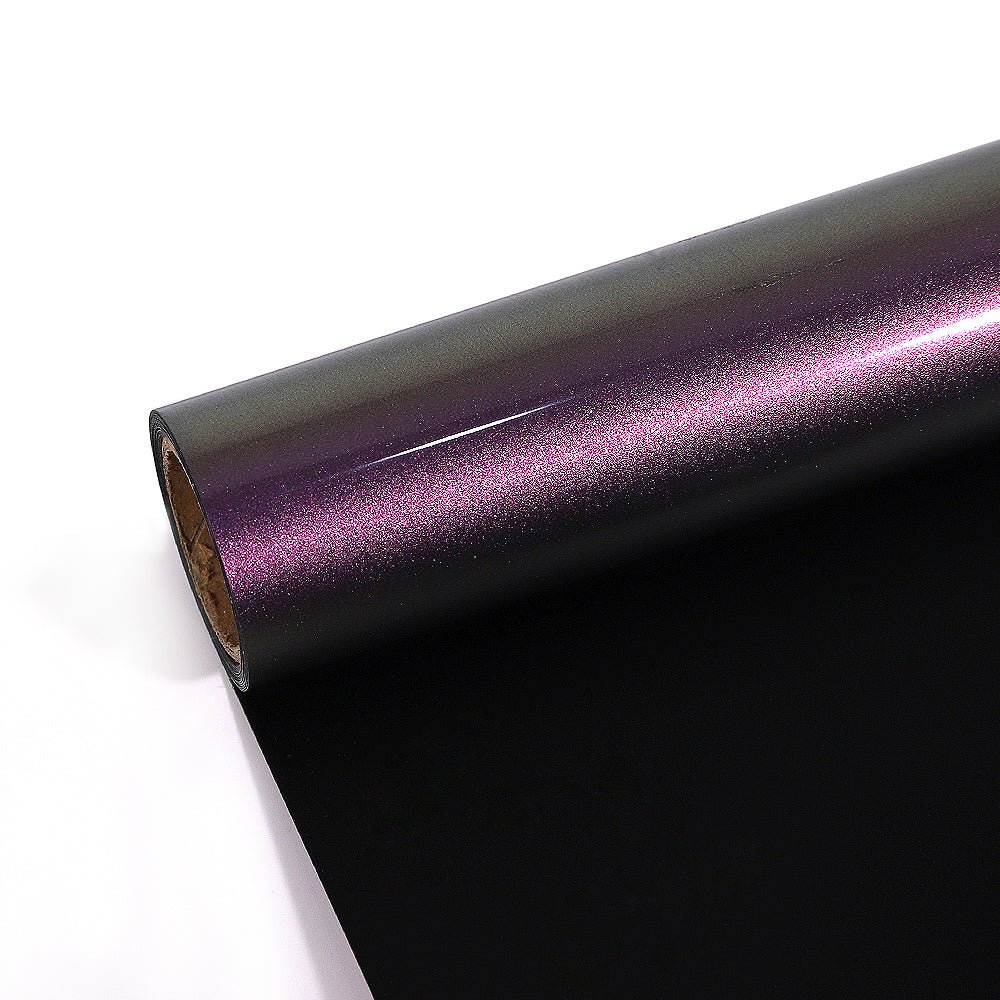
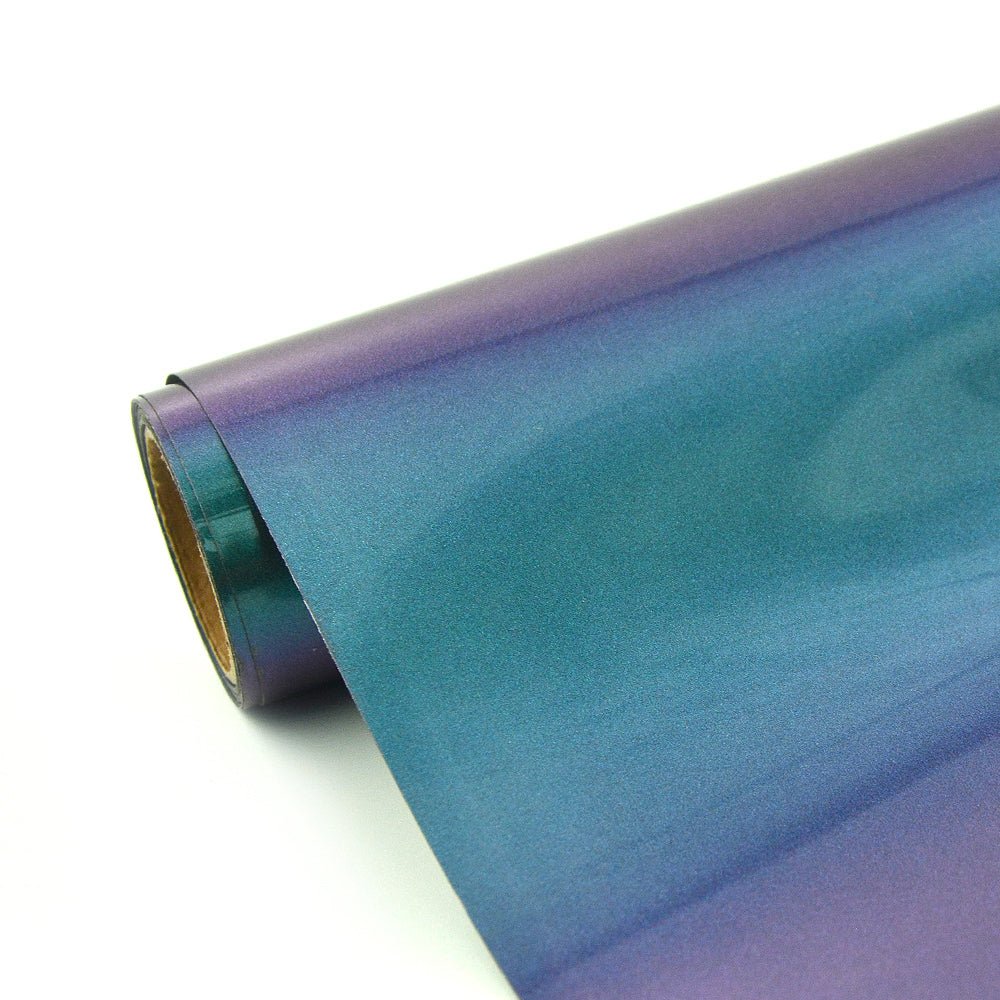
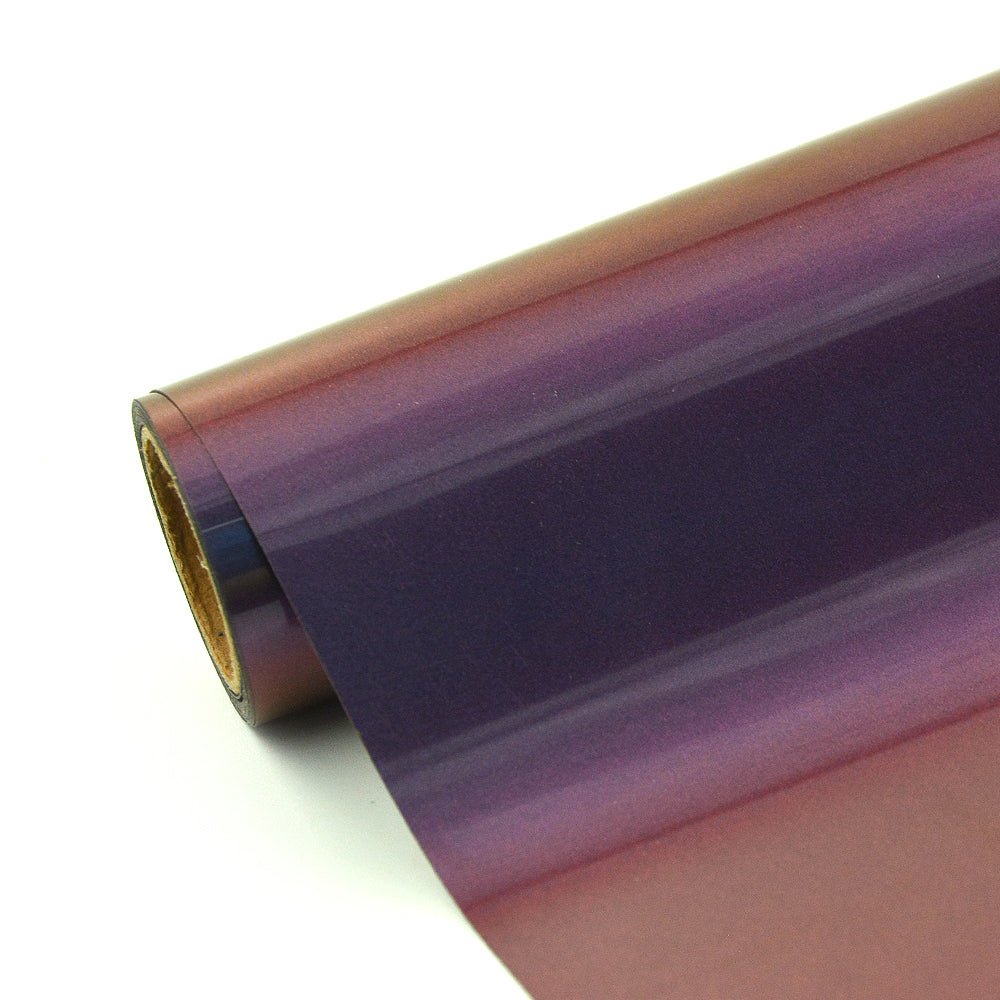
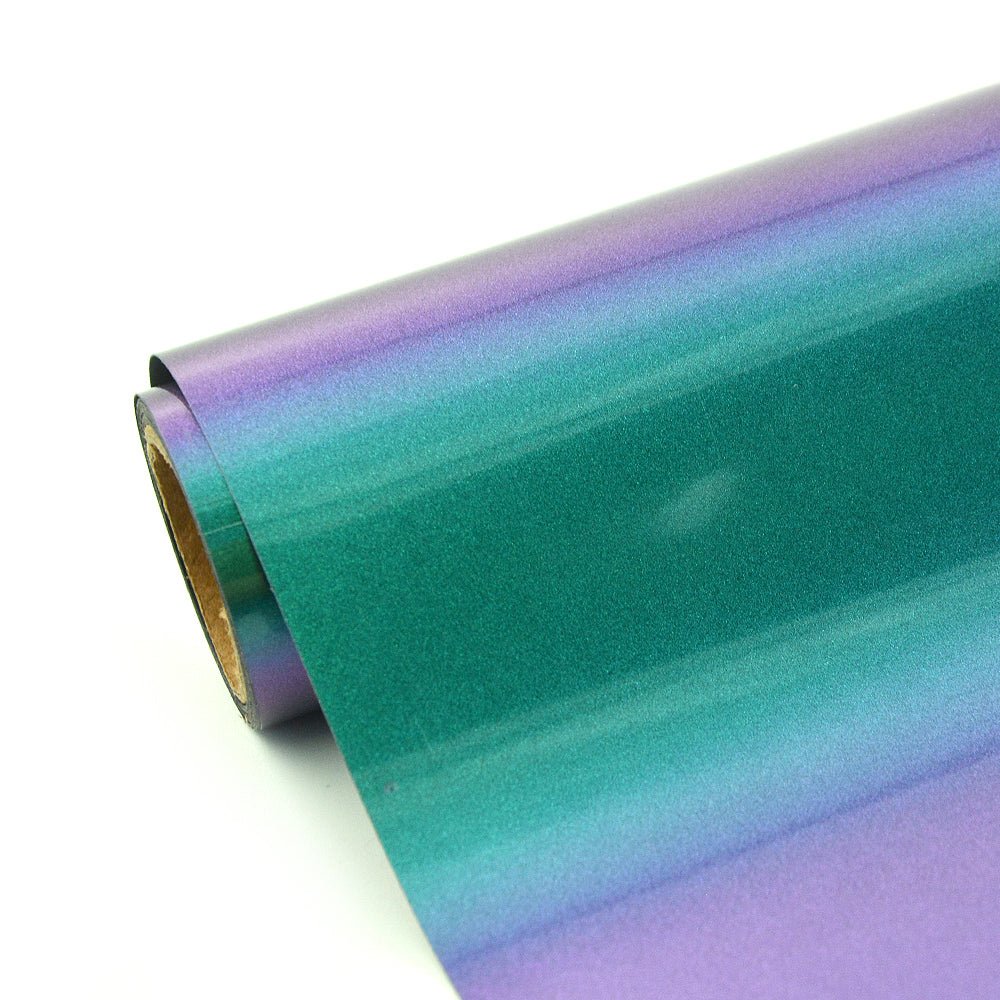
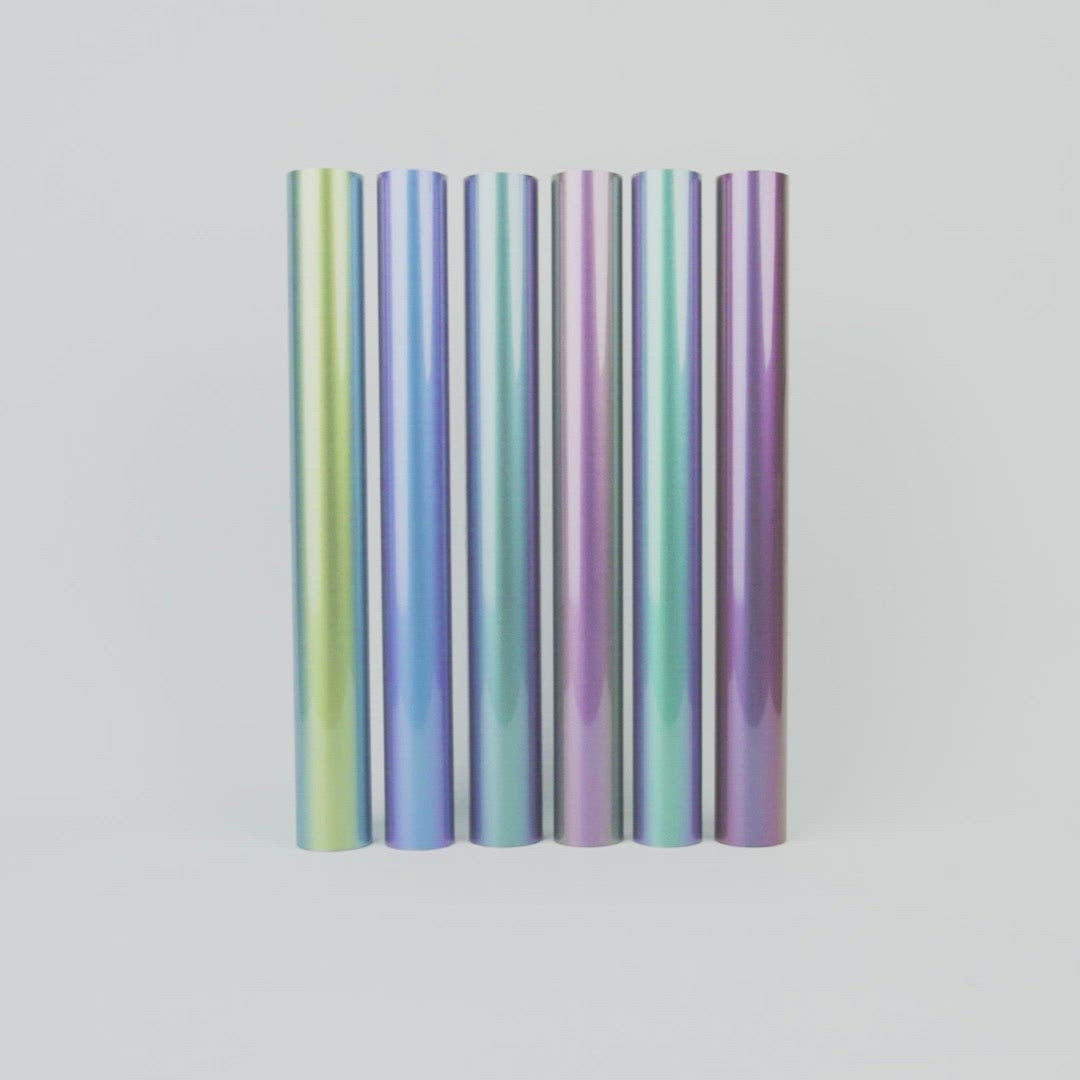
You can choose from our range of sunlight sensitive, temperature color change or glow in the dark HTV to create some magic. If you want to keep it simple than our basic colors, neon colors or reflective HTV is the way to go. For those who like their shirts flashy and gleaming, we have metallic, soft metallic and glitter HTV.
Finally, you can add beautiful texture with our Flock Heat Transfer Vinyl. No matter what you choose, your final piece will be extremely captivating.
Here’s how you can use HTV on a Tie and Dye Shirt:
- Choosing the right color combination is an important prerequisite. If your shirt is dyed in dark hues, use HTV in a light color to create a vivid contrast that stands out. This goes vice versa as well. For a shirt dyed in light colors, use a dark HTV.
- Get rid of any creases on the shirt by pressing it prior to transferring.
- Cut and weed your design and apply transfer tape on it.
- Place parchment paper or Teflon sheet on top of your design then use a flat, dry iron or a heat press machine to activate the adhesive of the vinyl so it may adhere to the fabric perfectly. Use the specifications mentioned for that particular vinyl as far as time and pressure of heat application is concerned.
- Wait for the vinyl to cool down before removing the carrier sheet. You now have a superb design to flaunt on your tie and dye shirt.

Removable Vinyl As Stencil
This is another method to embellish your shirt with vinyl however for this, you will have to use removable or adhesive vinyl. This does not require applying heat to the design. Here’s how to do it:
- You can use the vinyl as a stencil and paste it on the shirt using a transfer tape. You can create the vinyl stencil yourself with the design of your choice using Cricut or any other cutting machine that you like.
- Once the stencil is pasted on the shirt completely, you can either cut down the color from the design or add more color to it depending on the contrast of the shirt.
- If you are using the bleach method, go to a ventilated area then place a cardboard inside the shirt under the design so that the color at the back of the shirt is not affected.
- Since bleach is a very harsh chemical that can damage fabrics, you can add water to it to mellow it down. Take equal parts of bleach and water to make the solution.
- Spray the solution on the stencil a little at a time. Eventually you will see the bleach changing the color of the design. Do not over saturate the shirt as it may destroy the fabric.
- Once you are done, leave the shirt to dry. Do not remove the cardboard while the shirt is drying.
- Once it has dried, remove the cardboard and the stencil, and wash the shirt in cold water to remove the stench of bleach. You now have a super cool design on your shirt!
- If you prefer to add color instead of bleaching, use fabric paint. Follow the same method; only replace the bleach solution with paint.
- Before applying paint to your stencil, apply Mod Podge to it so that the paint does not bleed making the whole effort end in vain. Let Mod Podge dry before applying the paint.
Tips And Tricks Of Designing With Vinyl
- It is recommended not to tie and dye after you have printed the design on the shirt since the twisting and folding can cause damage to the design.
- For a better experience, you may cut the stencil the same size as your project.
- Make sure the stencil is sealed properly to prevent color bleeding. See the usage of Mod Podge mentioned above.
- Ensure that the color you choose for the design is in contrast with the tie and dye colors on the shirt.
Frequently Asked Questions
Final Words
You can make amazing designs on tie and dye shirts using the method of your choice. Vinyl adds an extra bit of oomph and glamor to the outfit making it stand out from the rest. Be certain to follow correct instructions and tips for the best outcome.

