posted by Ahijoy on October 20, 2022
How To Layer Vinyl On A Shirt?
Take your designing a notch up. You don’t have to settle for a simple design with a single sheet of vinyl anymore. Create beautiful patterns on your shirt by layering different colored HTV. Here’s how to go about it.
If you have a boring basic t-shirt that has been lying around in your wardrobe for some time just because it does not look cool enough to be worn, then oomph it up instantly by designing it with vinyl. This process can be done in a few simple and easy steps.

For novices, layering vinyl can be a little tricky but with practice you can get better at the job in no time. For your guidance here are some basic instructions and a few tips to help you transform your t-shirt with layered images.
Tools Required For Vinyl Application
Before you start the layering process, you must gather the following tools to make your work easy and professional.
- Vinyl sheets.
- Your project material you want to put the vinyl on, a t-shirt in this case.
- Heat resistant tape.
- Carrier sheet.
- Cutting machine or knife.
- Weeding tool (to remove excess vinyl),
- Parchment or Teflon paper.
- Heat press or iron.
Ideal Vinyl For Shirts:
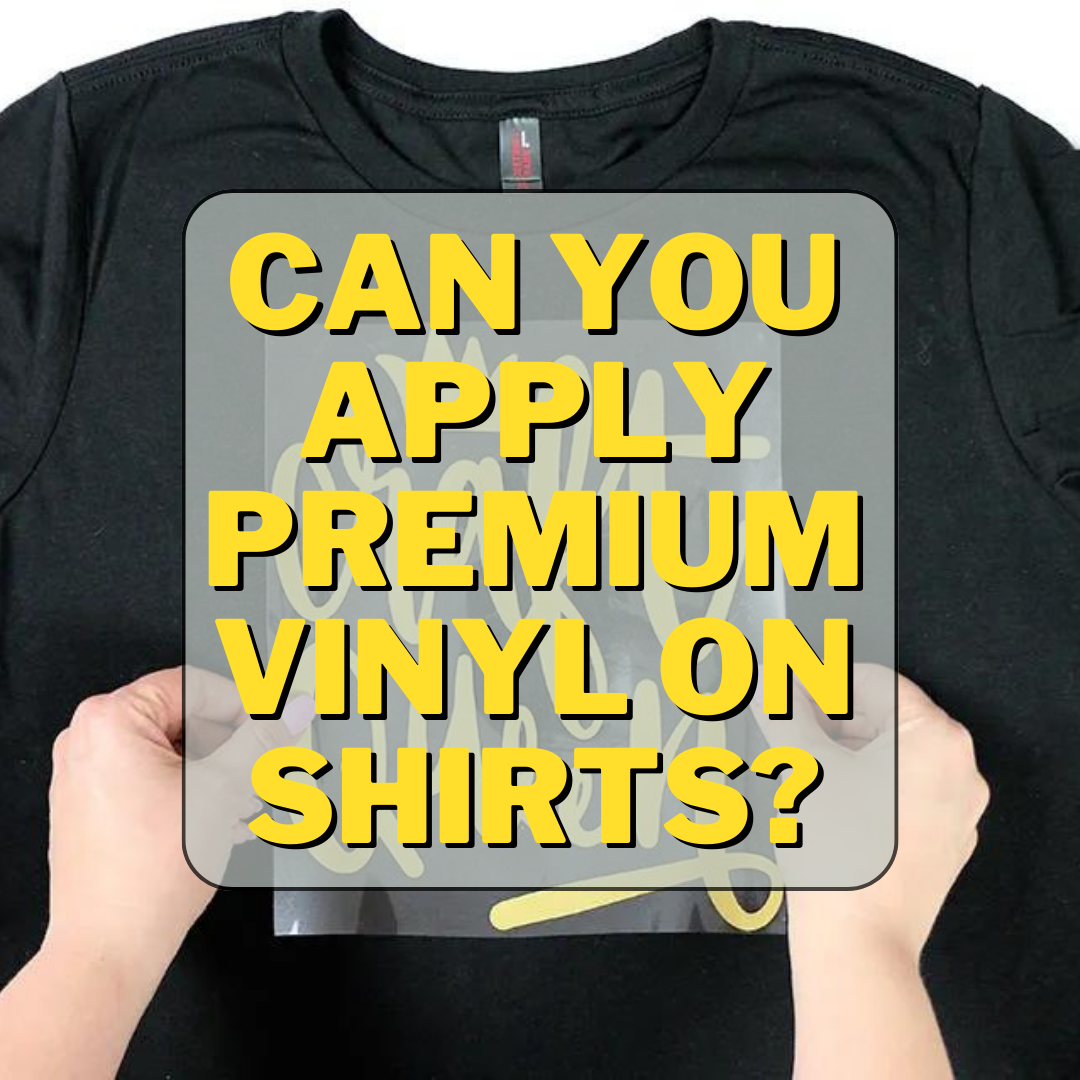
For designing your shirt, you will need to have iron-on or heat transfer vinyl (commonly known as HTV). It works best on cotton, polyester and cotton/poly blends. The iron-on or heat transfer vinyl can easily be applied on a t-shirt with the help of a heat source.
HTV vinyl comes in all sorts of designs, patterns, textures and colors. You can decide on your own the type you want to apply on your shirt. It could be basic plain vinyl or glossy, you can even go for metallic gold or silver.
You can also choose from our collection of specialty vinyl such as glitter, rainbow, holographic and so on. Depending on the image you create, you can opt for the vinyl sheets that will realize the image on a t-shirt.
Special textured vinyl such as glitter, holographic or metallic can only be used as the top-layer.
While selecting the vinyl, keep in mind that some sheets can only be used as the top-most layer. You cannot put anything on top of them. You can only layer regular or basic HTV. If your design requires, you can even put up to four layers of it. The following vinyl sheets can only be used as the top layer:
All special vinyl sheets with a texture can only be used on top.
Step-By-Step Guide To Layer Vinyl On T-Shirt
Follow these simple steps to create a perfectly layered vinyl design:
Prep Your T-shirt
- Wash the t-shirt before you start working on it. This prevents any shrinkage later in the future after it has the vinyl on, since that will distort the design on the t-shirt.
- Also, make sure to iron the t-shirt to remove any wrinkles that can be an obstacle while adhering the vinyl.

Finalizing The Design
Heat press machines are used when you want to transfer the design on a flat piece of glass.
- Come up with a design that you want on your shirt.
- You can create the design yourself or simply pick one online. You can finalize your design on the software Design Space that comes with Cricut or any other software that is compatible with your cutter.
- On the software, check the layer panel and ungroup the layers.
- Delete any hidden layers if you do not feel they are required.
- All the layers are over a black shadow; you do not have to attach them because all are separate colored pieces already. (Black shadow creates background for all the layers, therefore it is important).
- Through the ‘Make It’ option, separate all layers on different mats in the software.
- Each separated piece will tell you which vinyl to put for cutting.
- Mirror all the layers. Mirroring is important because on the carrier, the images are in reverse.
Cutting And Weeding The Design
- The shiny side of the vinyl sheet that has the carrier goes face down on the cutting mat.
- Insert it into the cutting machine one layer at a time.
- Cutting can be done manually as well with a pair of scissors if the design is not intricate.
- Once all layers are done, weed out the excess vinyl from each.
Applying Heat
- Fold your shirt in half to find the midpoint.
- Now place your first layer on the shirt where you want it to be and cover it with the parchment paper. You can even secure your carrier sheet with heat resistant tape.
- Ensure that there are no bumps or creases for seamless placement of the design.
- Now use your heat press, if you do not have one, you can use the dry iron too. For the heat press machine, set the temperature, pressure and time first.
- Press the shirt for 15-20 seconds. We do not want it over the vinyl for too long since excessive heat might cause shrinkage.
- When you are certain about the adhesion remove the carrier sheet after the design has cooled down.
- Repeat the same steps for the rest of the layers and voila! You have your final image right there on the t-shirt.
Frequently Asked Questions
Conclusion
Layering vinyl is not as difficult as it seems. It gives you the liberty to create beautiful, multi-colored designs that can transform a simple shirt into glamorous party-wear. Select the vinyl of your choice from Ahijoy and start creating magic!


